
Wednesday, May 30, 2012
Tuesday, May 29, 2012
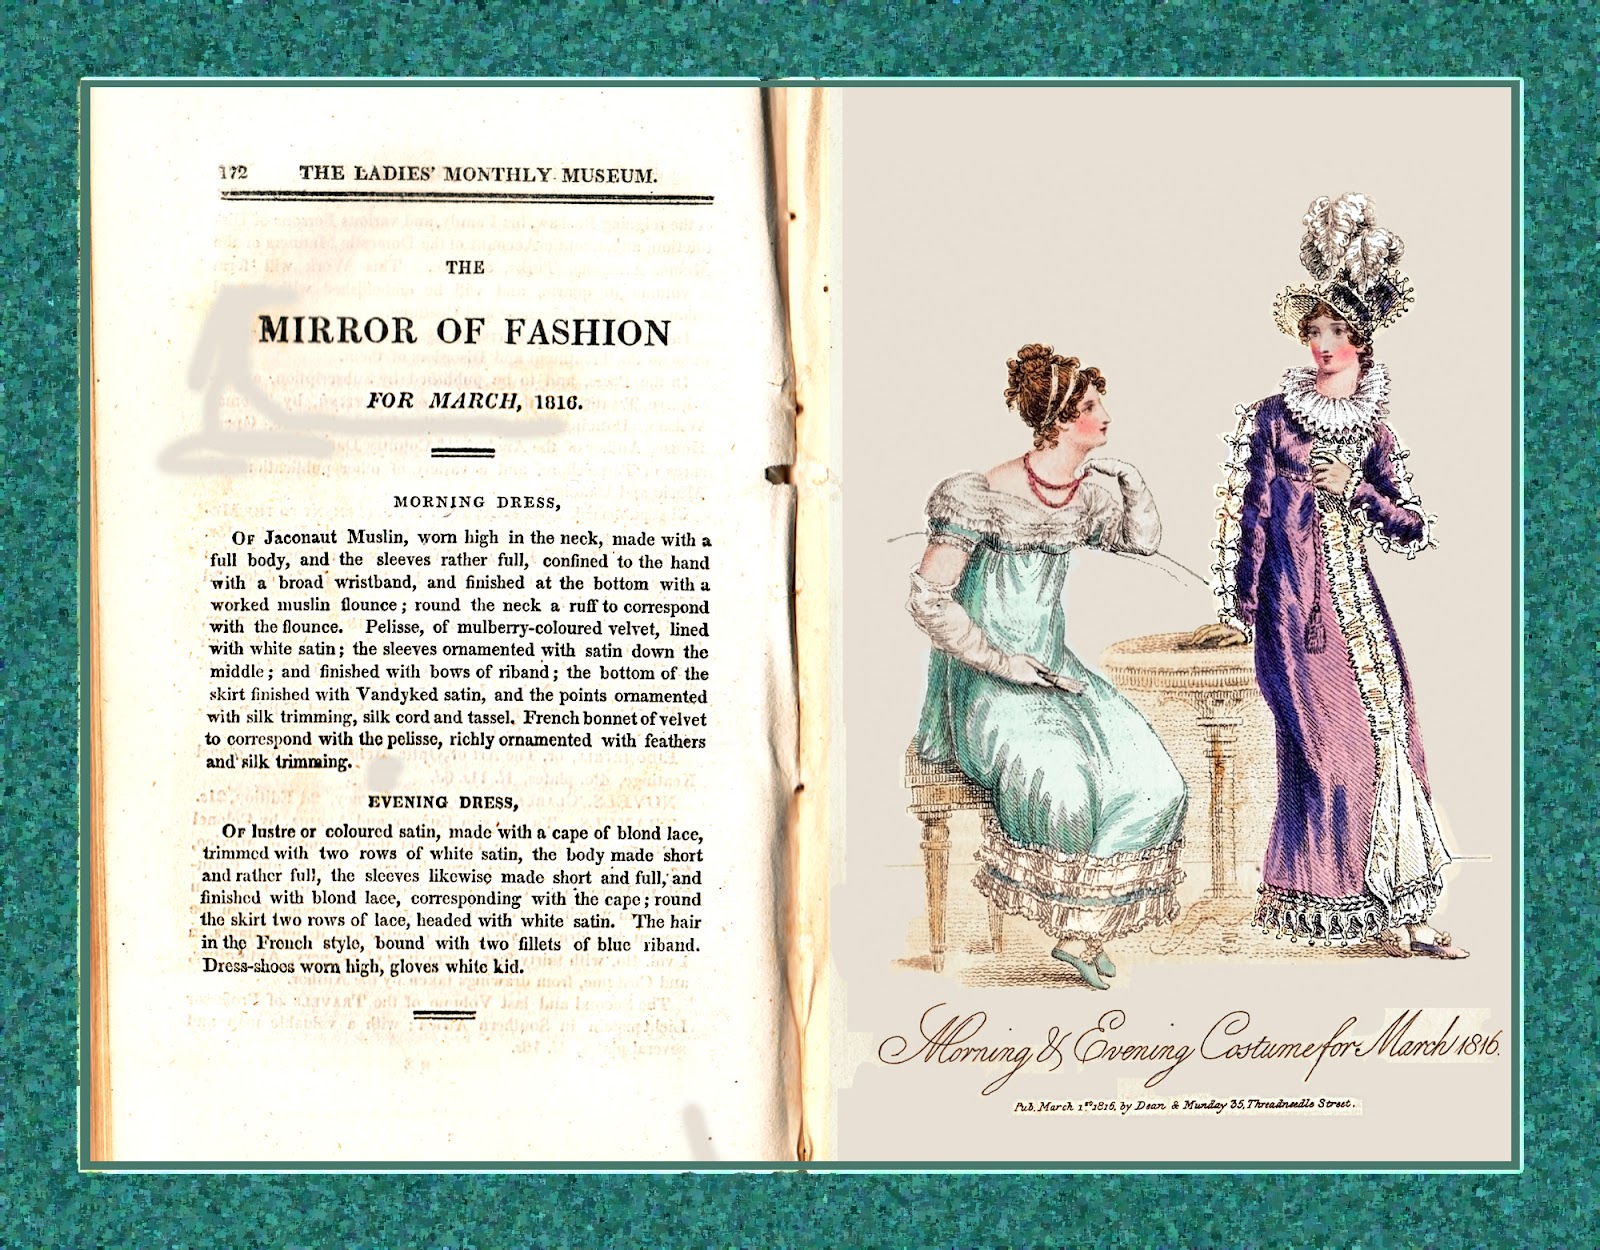
Ladies' Monthly Museum, May 1816

The scanner/printer/fax machine is really great. I dropped it when I was moving last October "CRASH! Tinkle-clunk". Goodbye lovely printer-scanner! So I bought another, exactly the same. Not too expensive, about $150.00 with shipping.
My first ever scanner (1990), which was only a scanner! cost $2,000.00 dollars. It was a bit larger, but other than that, does not compare to my current one.
Monday, May 28, 2012


Sunday, May 27, 2012

Saturday, May 26, 2012


Wednesday, April 25, 2012
Creating a Cut-out Lace picture
 |
| Layer 3 above Lace Background. |
Making a Lace design/insert
I'll start with just a "shape" from the Photoshop Elements shape files.
Open your finished "lace" Photoshop. It should have 2 layers: the dark-colored background and the white "lace".
1) Create a new layer (3) above layer 2.
2) Make sure your pallet has "white" as the top color.
3) Use the SHAPE tool to create a suitable insert. I chose a fleur-de-lis.
4) Go to LAYERS and apply: Simplify Layer. SAVE the object in SELECT filter.
 |
| Fleur-de-lis: simplified |
5) SELECT the object (fleur-de-lis)
Go to EDIT filter and assign 50% Opacity.
Assign FILL pallet with PATTERN.
For the Pattern: Chose the ARTIST's SURFACES pallet, and apply: GAUZE preset (64x64 pixels, greyscale to the fleur-de-lis). Now the fleur-de-lis looks a bit like Linen.
 |
| Fleur-de-lis with "gauze" filter added. |
7) Go to EDIT filter and select STROKE. Chose a width proportional to your design. On this one I chose 6 pixels on the OUTSIDE the object.
Opacity: 100% (of the preset 50% GRAY). APPLY.
The outline should be slightly grey.
8) Save the outline selection, Select the Outline.
 |
| Fleur-de-lis with OUTLINE (greyish) added outside. |
Set Add Noise to monochromatic, set Distribution: Uniform, Noise Amount: 25%.
APPLY to outline of object.
10) Go to FILTER: Motion Blur.
Set Motion Blur to 0 Angle, 5 Pixels long. APPLY
 |
| Fleur-de-lis with "Noise" added, and then 5 pix Motion Blur |
11) Before next step make your Pallets have the 25% grey on top, 50% grey background.
12) Go to FILTER: Sketch: BAS RELIEF
Chose: Detail: 15; Smoothness: 2
 |
| Bas Relief & Sharpen applied |
14) In ENHANCE filter go to: Adjust Lighting: LEVELS. In the (default) RGB channel, adjust the Far right lightness setting to 215.
Adjust the Middle Lightness Setting to 0.90
Leave other settings at default.
 |
| LEVELS adjustment added |
(Obviously the size & pressure are adjusted with the size & type of the picture you are making).
Now the Design Image is starting to look a little 3-Dimensional.
 |
| Liquify Filter (20%) added. |
I'll do something more challenging & fun tomorrow.
Sunday, April 22, 2012
Making Lace in Photoshop/Photoshop Elements 6
I'm going to try to explain how I made the lace & cut-out cover, for those who are interested.
I used Photoshop Elements #6, so I think most anyone could reproduce the effects I managed.
Hmm. Where to start? Well, let's start with the small (background) lace:
 |
| Finished "Background" of lace, without inserts or cut-outs. |
Fill layer with your dark color, then duplicate layer.
On duplicated layer go to "TEXTURE" filter.
Use "Texture": Stained Glass.
Cell size: 8, Border thickness: 6
Light intensity: 0
(Border color should be White)
 |
| "Stained Glass" filter applied to blue copy of background. |
"Select" dark background color, then use "Similar" tool to select ALL of the dark color.
DELETE dark background color (color will show through from the layer beneath).
Switch pallet background color to White, foreground color to Dark or Black
Select the Stained Glass "border". [ & SAVE in "select" filter.]
Apply ARTISTIC: Film Grain to selected white border (aka: Lace)
Set Film Grain to: 15, Highlight Area: 4
Intensity: 1
(Note: the "add noise" filter can also be used if you want a coarser-looking Lace)
 |
| Stained Glass with "FILM GRAIN" added to White Border. |
Apply BLUR Filter: "Motion Blur"
Motion Blur: Distance 3 to 5 pixels, Angle: -45
Apply SHARPEN MORE Filter
 |
| White border (lace) with Film Grain Blurred & then Sharpened. |
Filter:
Sketch: Bas Relief (this gives the lace 3-dimensional look)
Settings: 15, Smoothness: 2
Apply Sharpen MORE filter again.
Apply Filter: "Remove Color" to the lace.
 |
| BAS RELIEF applied to white border (LACE) before applying LEVELS. |
In the LEVELS filter, "Adjust-Lighten" the brightness:
Right Input Levels: 212
Middle Input Level: 1.80
All other levels remain at Zero
"Remove Color" again (in lace) if you wish. Having the "texture" be the color of the background looks very nice, too.
 |
| Lace is lightened in "LEVELS" Filter. |
AND THERE YOU HAVE YOUR BASIC "LACE" BACKGROUND, just waiting for designs.
You can easily change the background color in the Background layer, and the top white/shadow layer stays the same.
NEXT: Applying different designs! NOW we get to the really fun part!
Monday, March 26, 2012

Friday, March 16, 2012
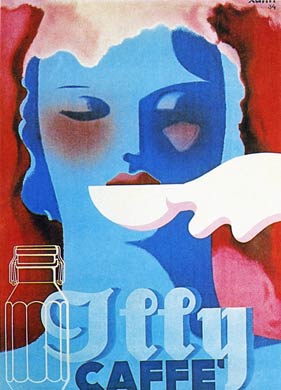
Book Covers for "Bride From A Hat"
 |
| Back Cover |

Cover for my story "Bride From A Hat". It is supposed to look like a lace veil. The woman is taken from a Costume Parisien fashion plate shown elsewhere on this blog. The story is http://highwaymansclub.blogspot.com/ The blog is named after the London Club begun by the hero. To join, one must rob a coach, but only for a trifle: a lock of hair, a lady's glove, or a kiss from a pretty girl. All in good fun, tho some grumpy old people have complained...
Monday, February 27, 2012
Early French Revolution Dresses
Some of these dresses were made of such sheer fabric (often muslin) the ladies claimed the entire dress would fit in a teacup.


Thursday, February 23, 2012


Wednesday, February 22, 2012


Sunday, February 19, 2012
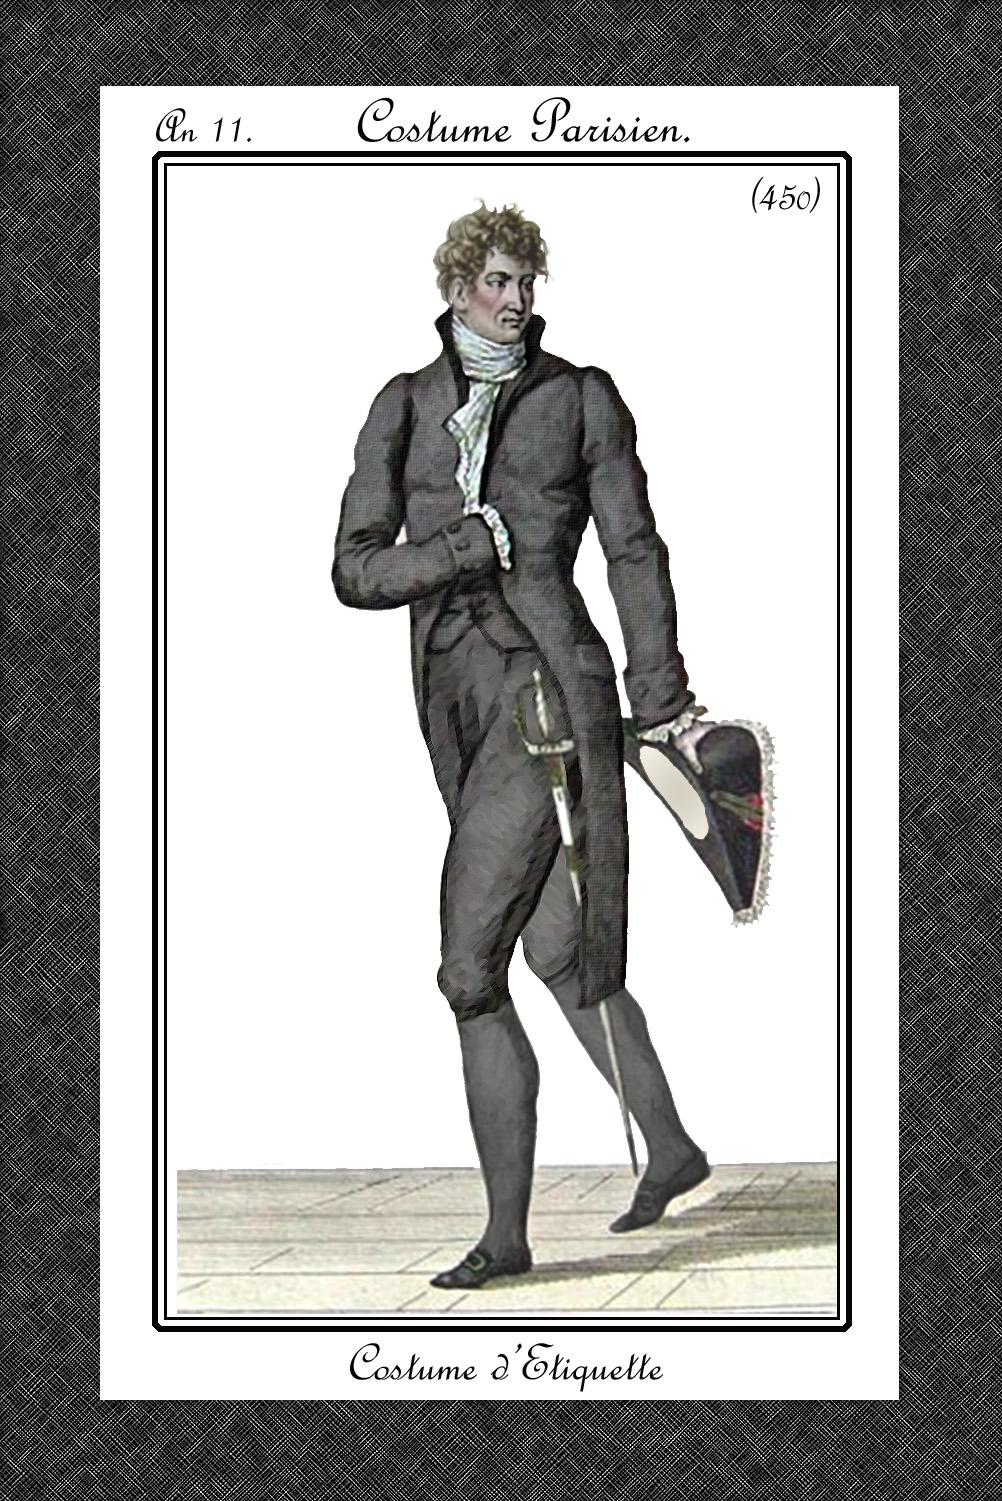
Frenchmen Fashion Plates, Empire

Friday, February 17, 2012


Wednesday, February 15, 2012
 |
| Costume Parisien Empire Fashion Plate |
 |
| French Empire Fashion Plate |
Sunday, February 12, 2012

Friday, February 10, 2012
Regency Valentine's Day Card: Jane Austen Pride & Prejudice
 |
| Regency Valentines Day Card. Darcy's proposal to Elizabeth |
Monday, January 23, 2012
Georgette Heyer: These Old Shades for Valentine's Day
I'm feeling kind of 'meh' today, colors seem washed-out. We had a very pretty snow from last night which meant a "late" day for school. Fun. Then it warmed up a couple of degrees and began drizzling- melted the pretty snow. So I decided to play around with my favorite Heyer Book Cover, the Pan paperback edition:
 |
| "Monseigneur, I would much rather be the last woman then the first." "Little one," he said very low "since you will stoop to wed me, I pledge you my word that you shall not in the future have cause to regret it." |
Friday, January 20, 2012
Photoshop Ice Sculpture
Making A Clear (Ice or Crystal-like)
Object in Photoshop Elements
1. Find a picture you’d like to convert. Like a Regency Mail Coach.

2. Select & save selected item in foreground, delete background. Best to have individual selections of different parts, such as “selection of horses”, “Selection of Coach WHEELS”, “selection of coach w/o wheels”, “Selection of People”, so you can control the amount and direction of light source.
3. Use “Sharpen” filter for details you want to be prominent. Use “Reduce Noise” filter, and/or eraser to smooth out areas you want to look smooth & icy.
4. Set your pallet Background Color to Dark Ice-Blue/light blue, or Black/light grey. It doesn’t matter what color is on top of pallets.
5. Select objects. In this case I just selected the horses.
6. Go to “Sketch” filter and apply “Bas Relief”, with “detail” at max and the “smoothness” feature adjusted to your preference (about 1/3 of the way up the scale for this picture). Use “left” or “right” light-source to highlight. Other light sources (upper left, bottom, etc) don’t seem to work too well.

7. When you’ve made the whole drawing into a “Bas Relief”, duplicate it 2 times. Make the 2 top layers invisible.

8. On your LAYERS Pallet, select the bottom layer (#1) of the Bas Relief Object. Go to the upper right corner of the LAYERS pallet and check “Luminosity” filter. Leave “opacity” at 100% for now. Later you can adjust it to 75-85% if needed.
9. Leave the “Luminosity” layer visible.
10. Select the layer directly above the “Luminosity” layer (layer 2).
11. Go to upper right menu on this LAYERS pallet and click on “Screen” if your background is dark. Slide the opacity scale to about 50% or lower, depending on how much transparent area you want. This works best with darker backgrounds. This will lighten the already light areas as well as make translucent areas. If you want completely transparent area you can simply erase or delete the area.
11b. If your background will be light, use the "Darken" mode along with adjusting opacity down.
11b. If your background will be light, use the "Darken" mode along with adjusting opacity down.
12. Place a colorful image in the Background. I chose an old map of England.


13. Here is the stage-coach with a different background:

14. To add some rainbow-sparkle, SELECT the 3rd (so far unused) stage coach layer.
15. Go to the “Effects” menu/pallet. Chose a highly colorful spectrum Effect. I chose “Nebula” for this sample, tho I don’t think the latest Photoshop Elements has it (I’m still using #6).

16. Lower the OPACITY to around 15-25%. This can go under or over the other stagecoach filters, whichever looks best to you.


So the important filters to use in making an object
translucent are: Sketch/Bas Relief, "Luminosity" and/or
"Screen" or "Darken" with very low (about 15%) Opacity.
After than you can do anything.
Subscribe to:
Posts (Atom)